This guide takes you from an out-of-the-box TRB143 to a running, activated EasySense Link. You only need to do it once per device. Set aside about 20–30 minutes for the first unit.
.dat license file), a PC with an Ethernet port, and a switch or router with internet access. Keep the device's serial number handy — it is the Link web UI password.Connect the TRB143 to the network
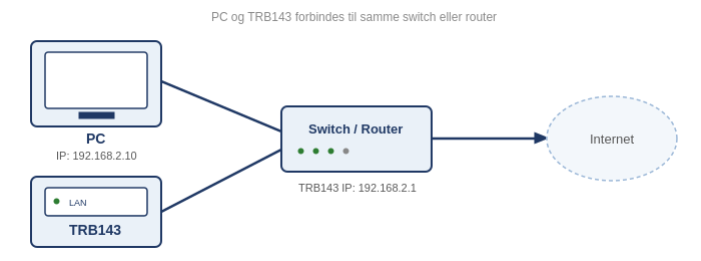
Connect both your PC and the TRB143 to the same switch or router using Ethernet cables. The switch/router must already have internet access. This lets your PC reach the TRB143 locally, while the TRB143 gets internet access over WAN once you enable it in step 5.
Set your PC's IP address
Give your computer a static IP in the same subnet as the TRB143 — use 192.168.2.10 with subnet mask 255.255.255.0. On Windows: Control Panel → Network and Internet → Change adapter settings → your adapter → Properties → Internet Protocol Version 4 (TCP/IPv4). On macOS: System Settings → Network.
Open the TRB143 web interface
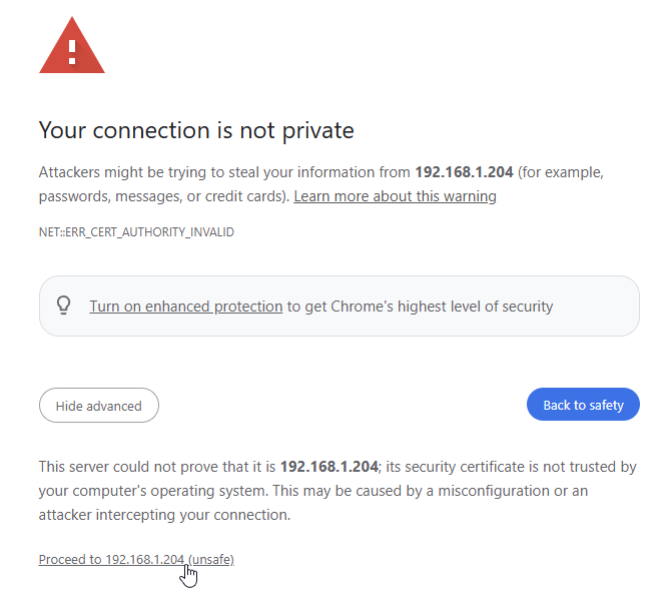
In a browser, go to https://192.168.2.1 to reach the device's local configuration page. The browser will likely warn about a self-signed certificate — dismiss it with Advanced → Proceed. This is expected for a device on your local network.
Log in to the TRB143
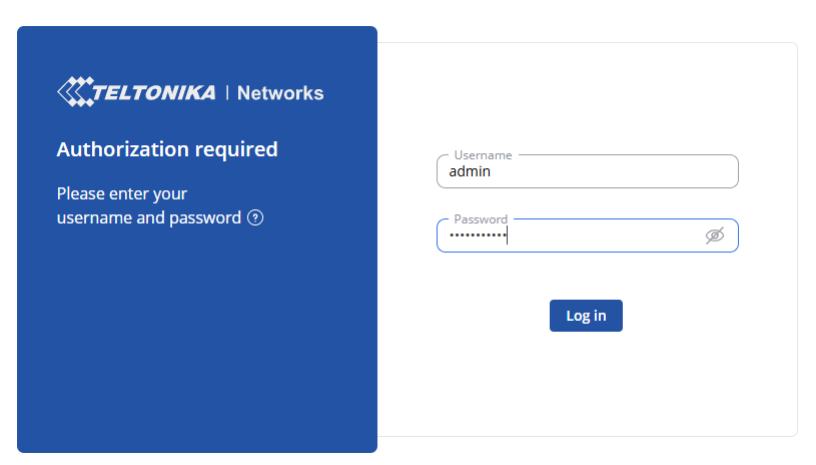
Sign in with the device username and password. Unless they have already been changed, the credentials are printed on the device label. After the first login you'll be asked to set a new password — keep it somewhere safe.
Enable the WAN port
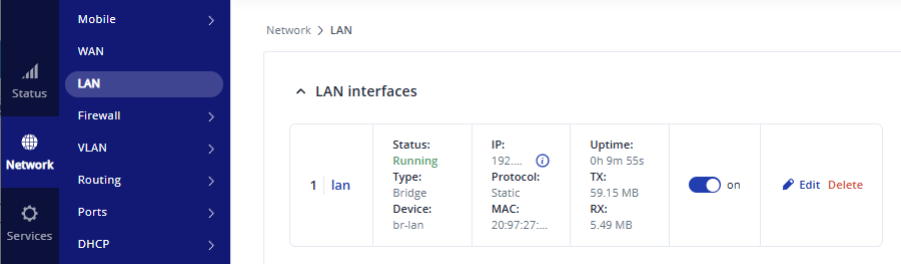
Go to Network → LAN and click Edit. Enable “LAN to WAN” and save with the default settings. The device restarts networking and pulls a new IP address over DHCP from your router, giving the TRB143 internet access — required for package installation and license activation.
Disable the DHCP server
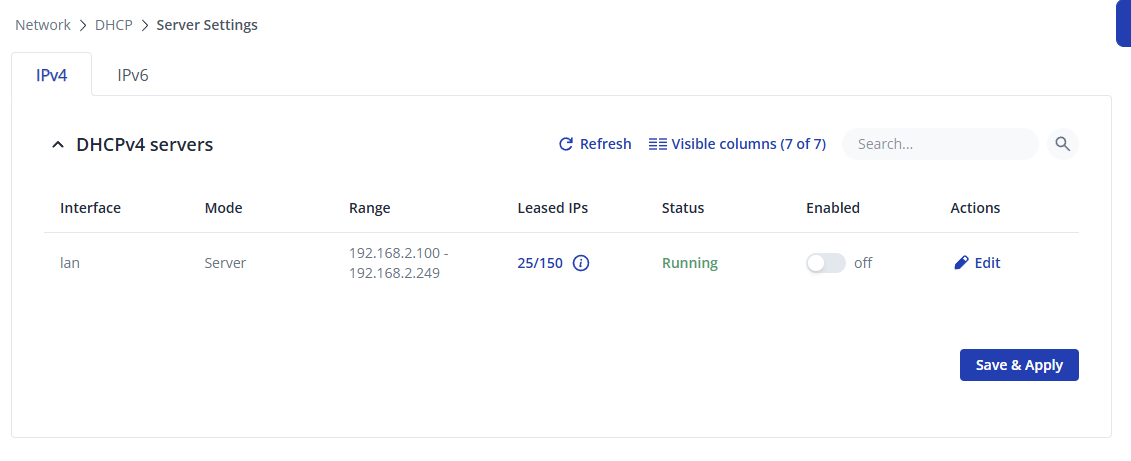
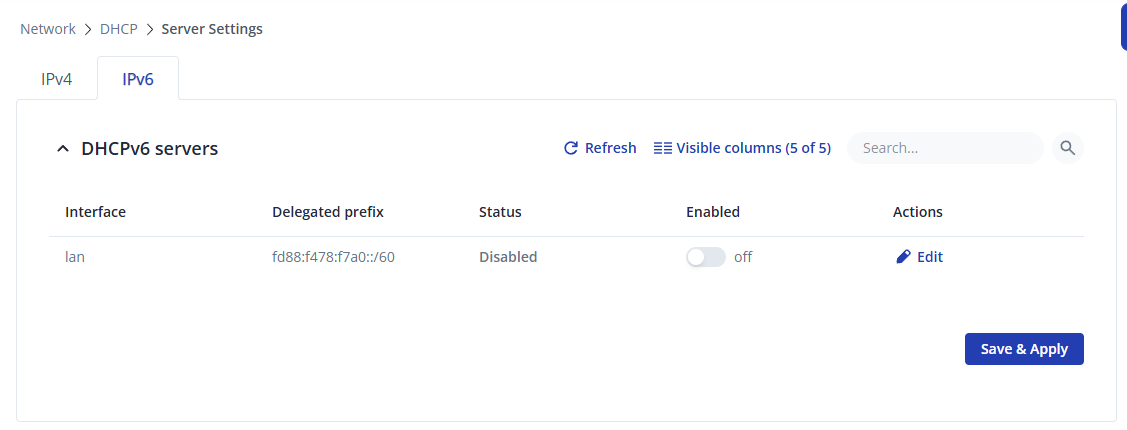
Now that the TRB143 sits on your own network it must not hand out IP addresses as well — its built-in DHCP server would compete with your router's and can cause address conflicts. Go to Network → DHCP → Server Settings, switch Enabled off for the lan interface on the IPv4 tab and click Save & Apply. Repeat on the IPv6 tab.
Update the firmware (operating system)
Download and install the latest (or latest stable) TRB143 OS version that Link supports — currently this is 00.07.23.7. Firmware for Teltonika TRB143 is available at their website: TRB143 Firmware Downloads (we recommend using the Stable branch).
Latest version of EasySense Link currently supports these TRB143 OS versions: . You can always check the up-to-date list on the Downloads page.
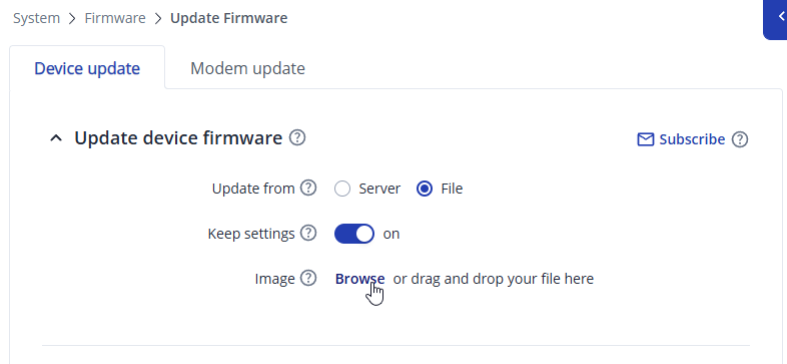
Then go to System → Firmware, select the downloaded OS file and start the upload. Because the file is local, the update is quick. The device installs the new firmware automatically and reboots.
A comprehensive guide on updating the TRB firmware can be found here: TRB143 Firmware page.
Install Python3
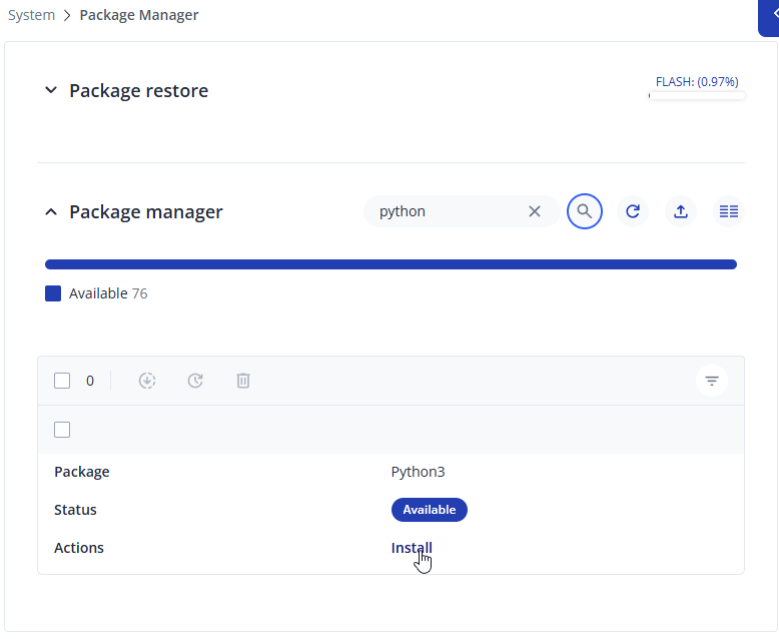
After the OS update completes and the device has rebooted, go to System → Package Manager. Find Python3 in the list and click Install. EasySense Link needs Python3 to run.
Install EasySense Link
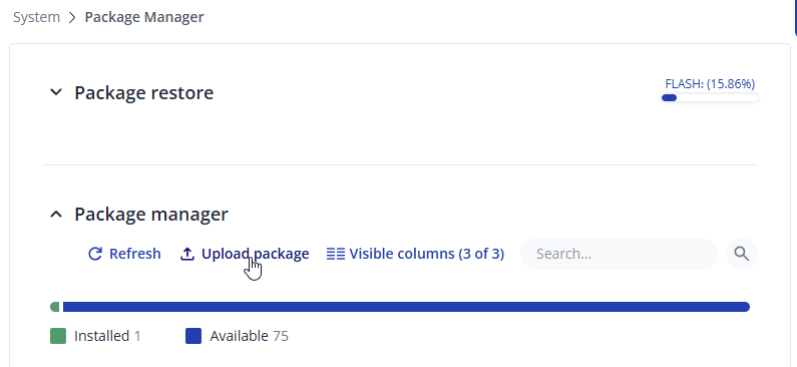
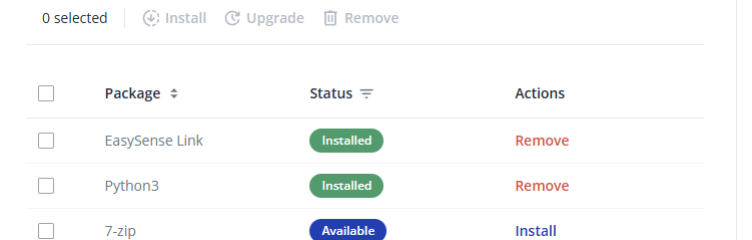
EasySense Link isn't part of Teltonika's standard packages — it's supplied separately as a package file. Download the package that matches your router's exact TRB OS (firmware) version from the Downloads page. Then, in Package Manager, click “Upload package”, select the Link package file from your computer and install it. Wait for the installation to finish. Afterwards you'll have two installed packages: EasySense Link and Python3.
Open port 8000
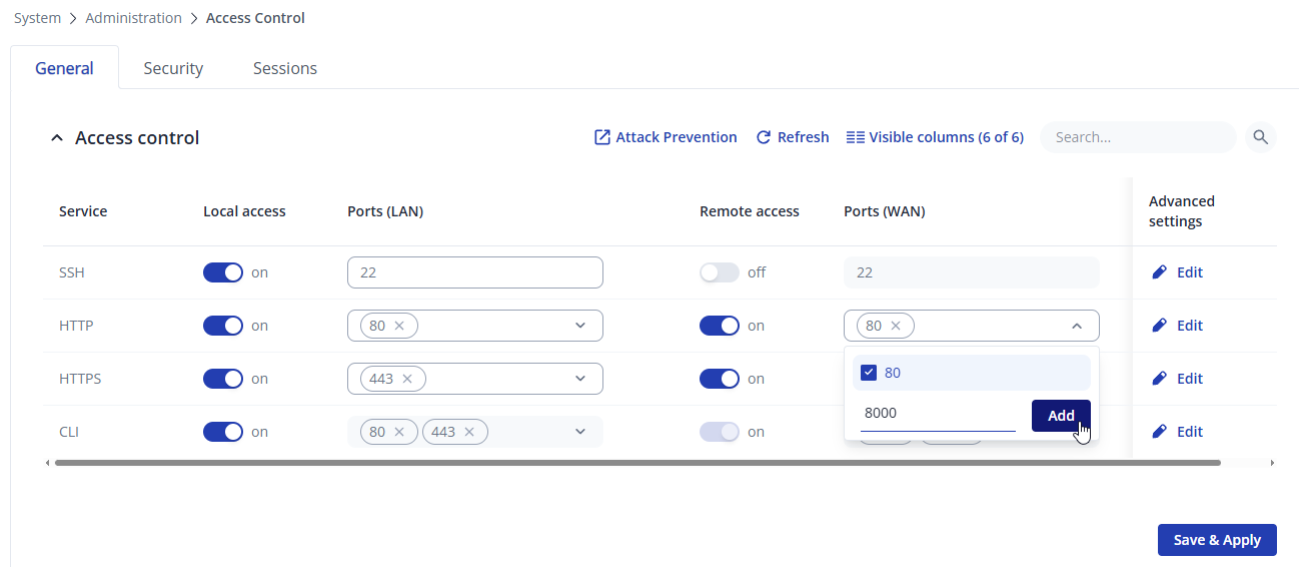
The Link web UI runs on port 8000, which must be reachable to install the license and configure the device. Go to System → Administration → Access Control, add port 8000 to the HTTP row on the WAN side, then Save & Apply.
Activate EasySense Link
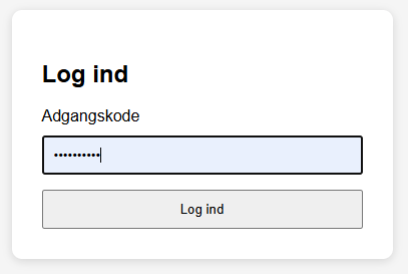
Open a browser and go to the TRB143's IP address followed by port 8000 — http://<IP>:8000. Use http:// (not https). You'll reach the Link web UI and be asked to log in; the password is the TRB143 serial number, printed on the device.
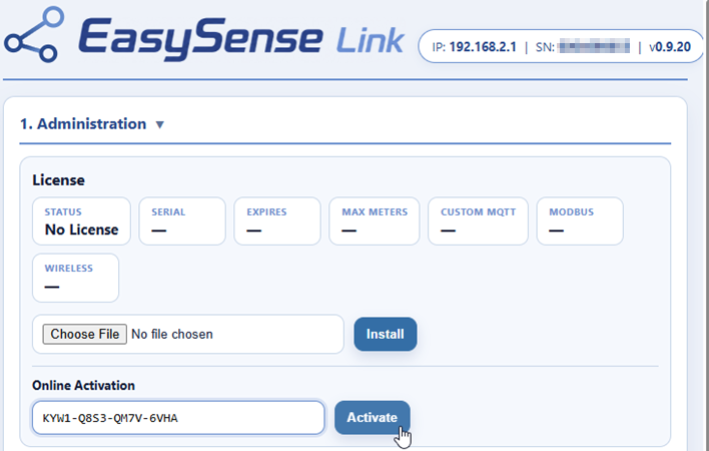
Open section 1. Administration, enter your activation code in the Online Activation field and click Activate. A license is fetched and installed. Link is now ready to configure.
.dat license directly.